When it comes time to create your employees, you may have so many that you wish to do this on bulk.
We have an easy-to-use uploader, that enables you to upload employees in any format, as long as you provide the necessary data.
From the admin suite, head to "Users > Import Users" to start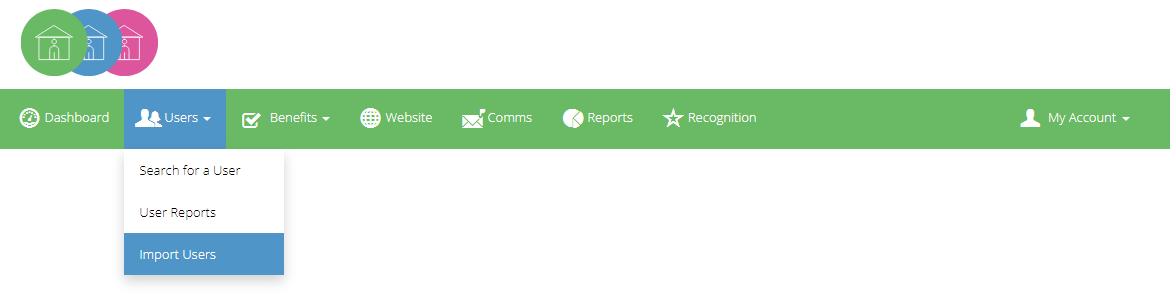
Step 1: Prepare your data
If you have a ready made spreadsheet with employee data, or can export data from a payroll or HR system, that is a great place to start. As long as you have your mandatory data as listed below, you will be able to create your users.
That minimum data required to create an employee is as follows:
- ExternalID
- This is can be any alpha-numerical unique identifier for the employee; usually payroll or staff ids
- Firstname & Lastname
- Email Address
- Whilst it is not mandatory to upload, if you do not provide an email address for employees, they will not be able to receive welcome emails
Note: Your file must be saved as a CSV; not .xlx or xlxs
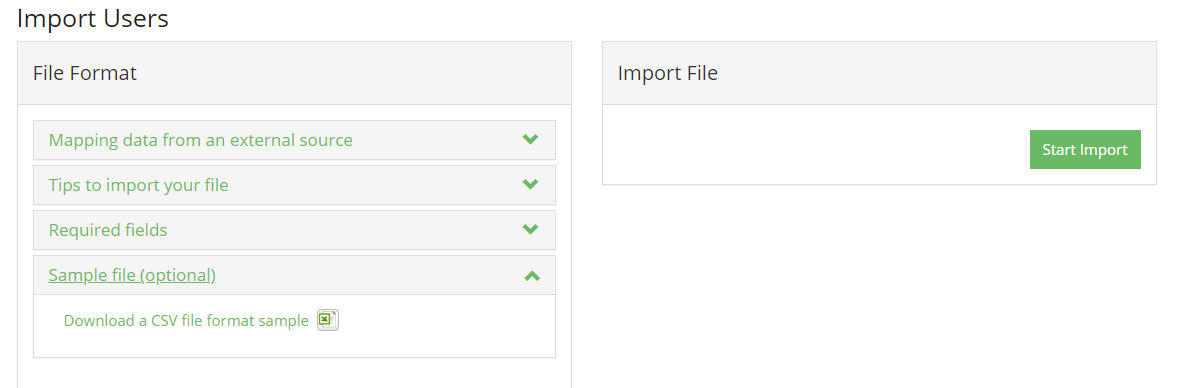
If you don't have a pre-made spreadsheet, or cannot export from your HR/Payroll system - you could use our template file which can be found on the left-hand Menu:
Step 2: Map your data
If you have used your own template file, you can assign which columns correlate to which fields in our system.
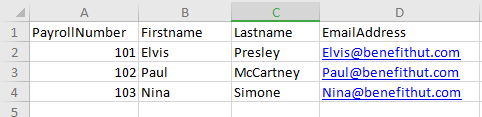
For this guide, we have created a dummy spreadsheet that consists of four columns and saved the file as a CSV type.
If you have prepared your data already, start the process by clicking "Start Import"
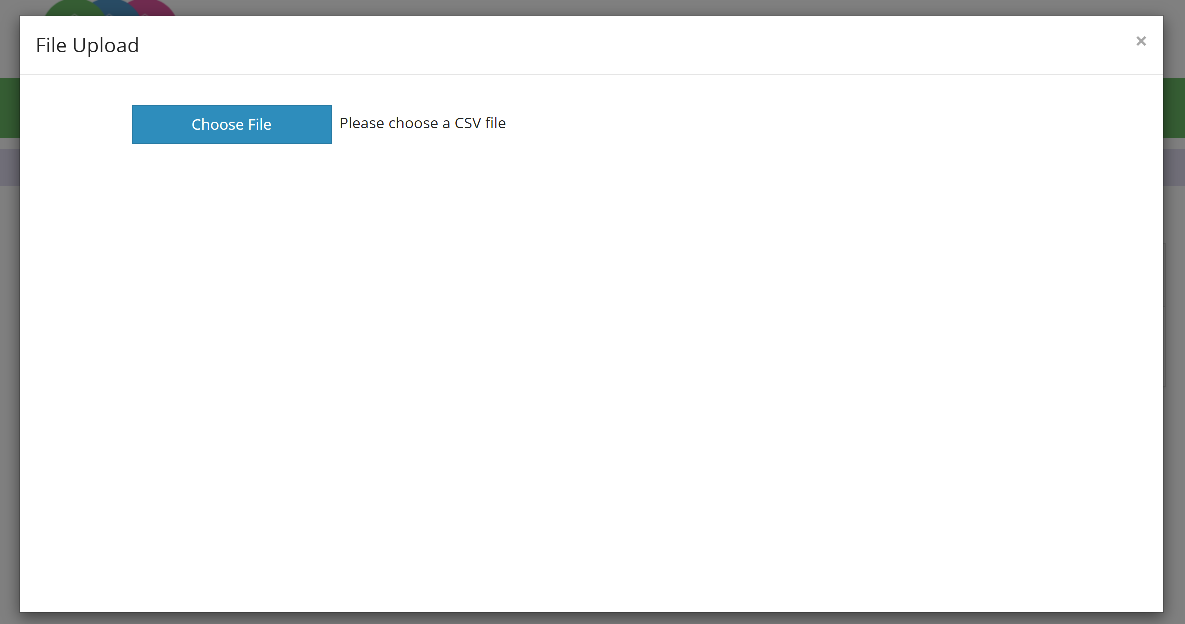
A popup will appear that asks you to choose your file, it will only show you CSV files - so if you cannot find your file; check if you saved it as a CSV.
Once you have chosen your file, the mapper will scan your file, and do it's best to intelligently match your file's column headers with our system fields.
In the example below, the mapper has matched Firstname and Lastname automatically from my file, and it has suggested matches for PayrollNumber and Email Address.
Notes:
- If using our standard template, this will be automatically mapped for you.
- If it has not suggested a match at all, or it is wrong, you can manually select these from the mapper then click "Confirm Mapping"
- If the intelligent mapping has mapped incorrectly and locked it in, you can click the "Edit" button, which will allow you to change the mapping
- If you have extra data on the file you wish to be ignored, click "Ignore Column". This will mean the rest of the process will do exactly that; ignore the data in those columns and not upload it
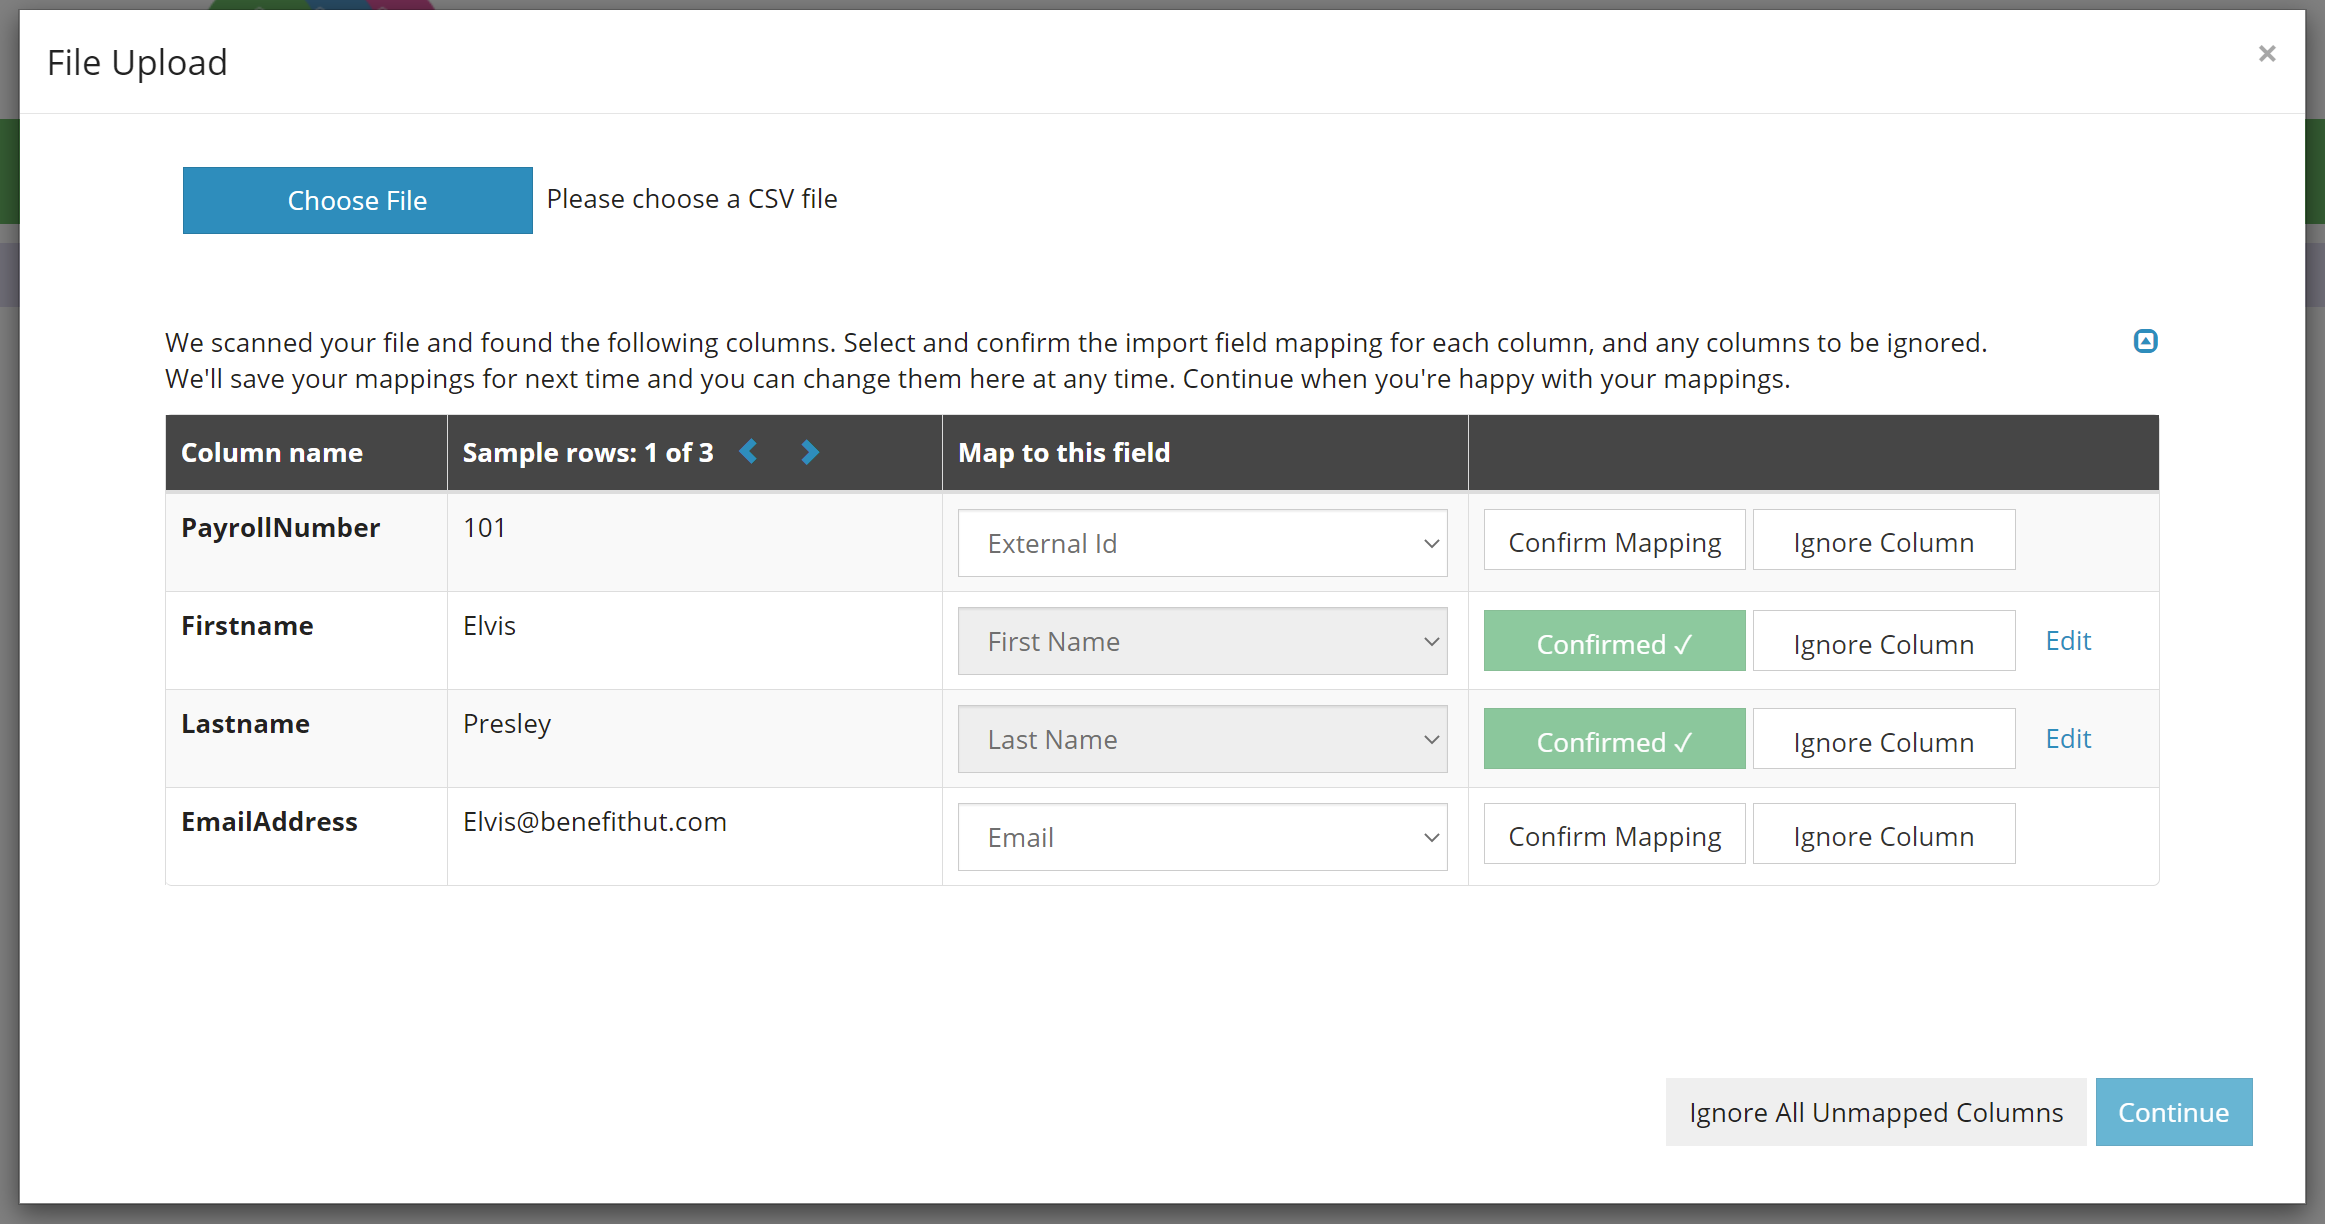
Once you're happy with the mapping, click Continue.
Step 3: Preview your data before import
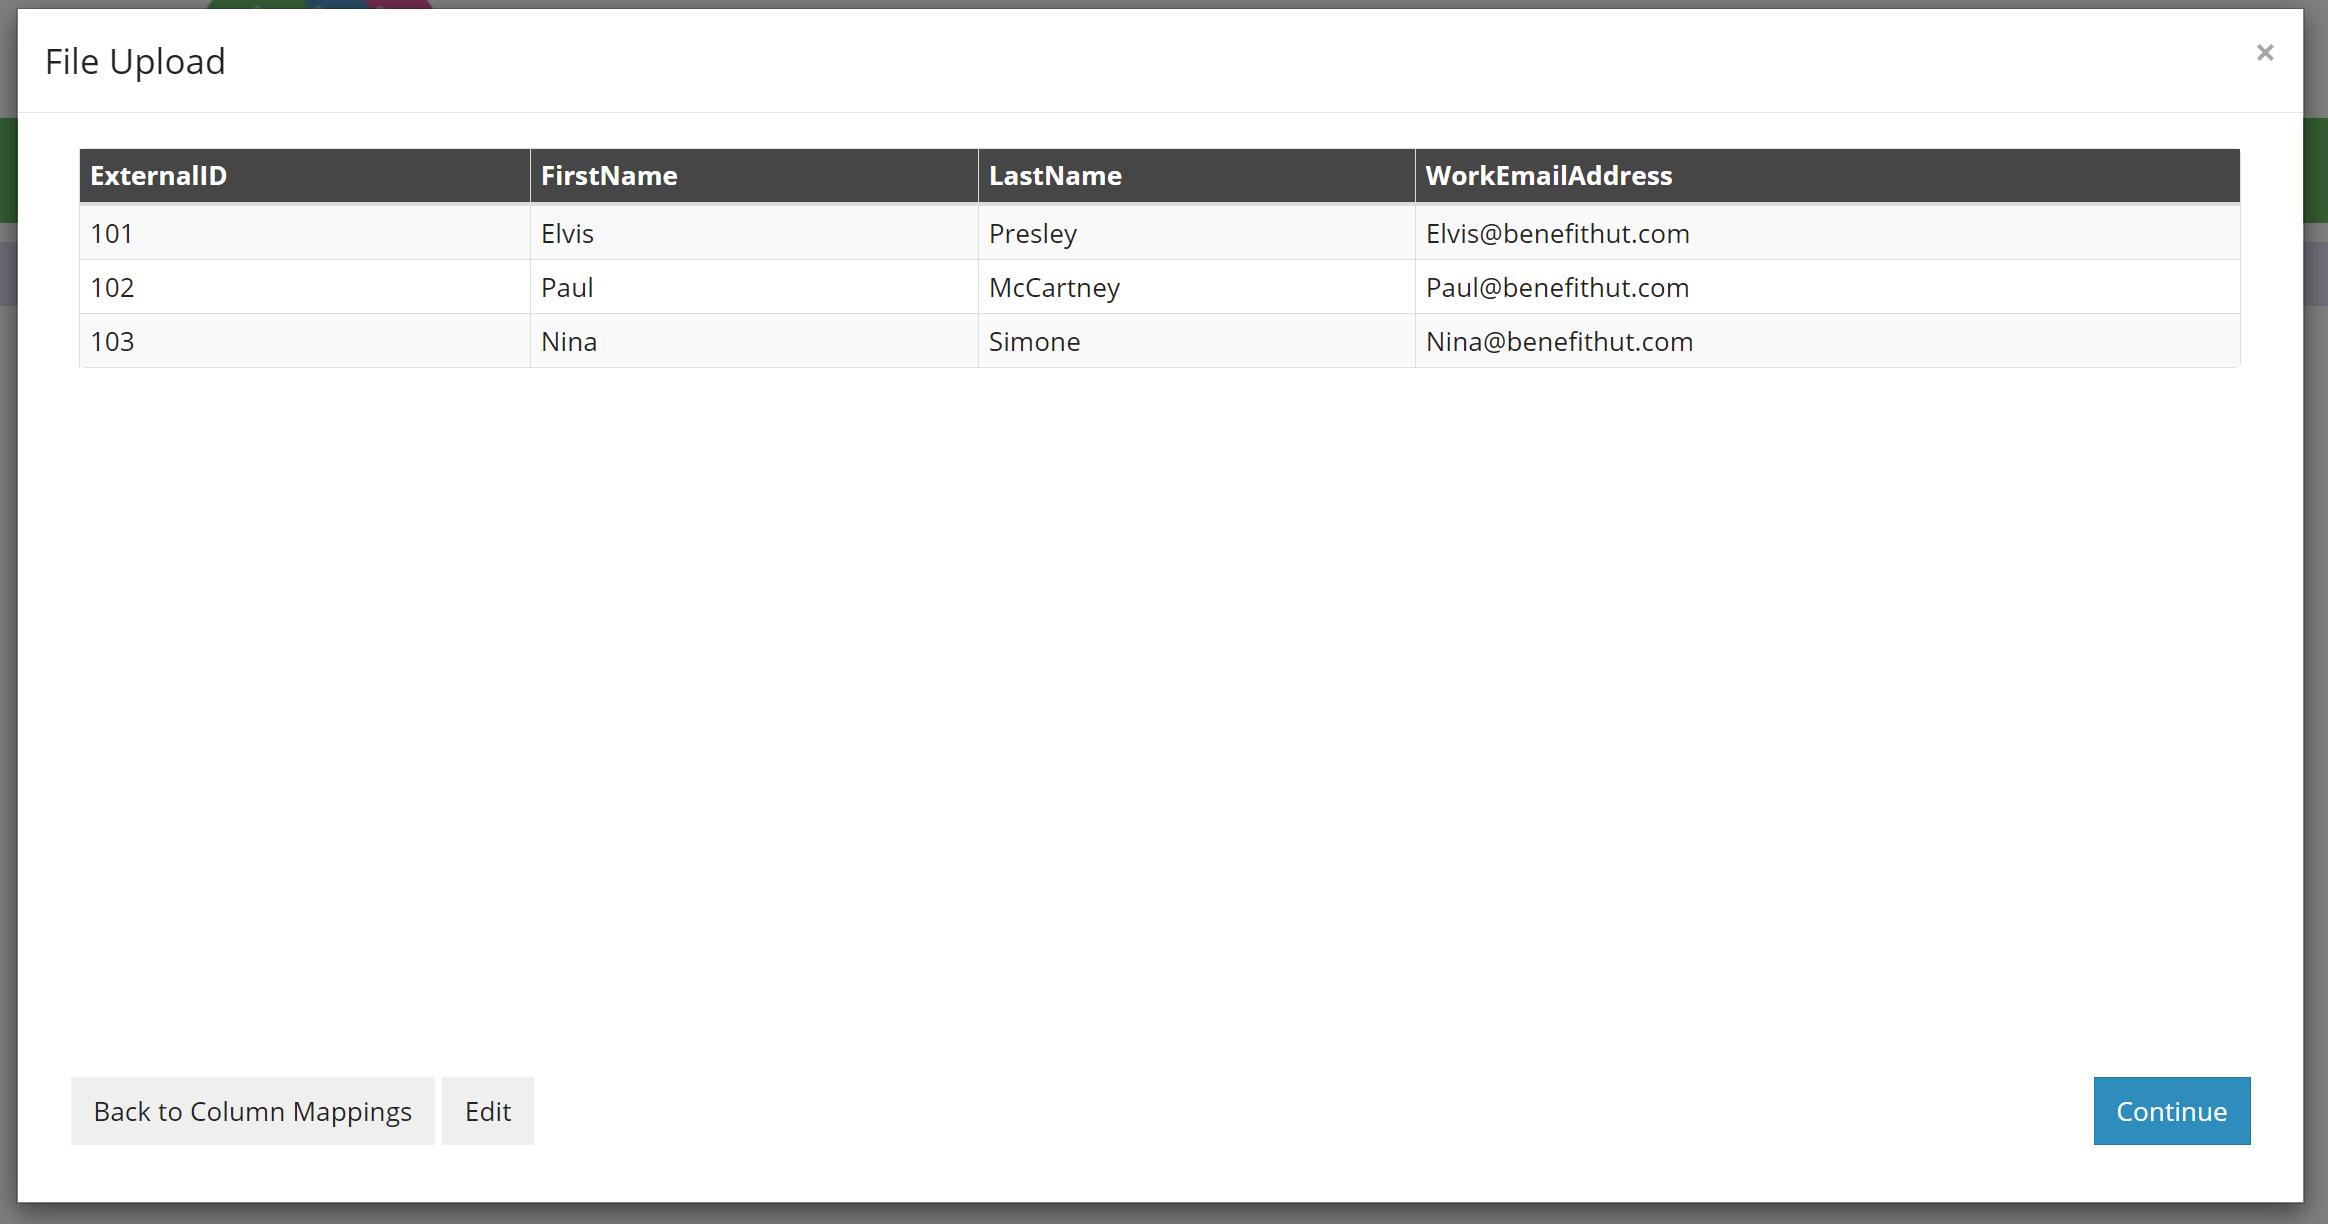
Your data from your file will be shown on the next screen, minus any you asked to be ignored.
If there are errors in your data, you will be asked to edit it here - use the edit button in bottom left, to enter into edit mode and amend your data. Alternatively, close the popup and amend the data on your spreadsheet and start the process again.
If your data all appears correct, click continue. The import process will then begin
Step 4: Importing; Authorising or Declining
The final step is where the system now reviews your file, and informs you of how many new employees it finds, or warns of more nuanced errors. This process can take a minute or two before it will refresh the page to show its findings from the review.
In our example below, our file contained three new employees and it shows "Joiners: 3" on the left-hand side, which is as expected; therefore, I am happy to approve this file to be uploaded.
Click "Approve" to finish the upload process, or "Reject" to cancel this and start the process over.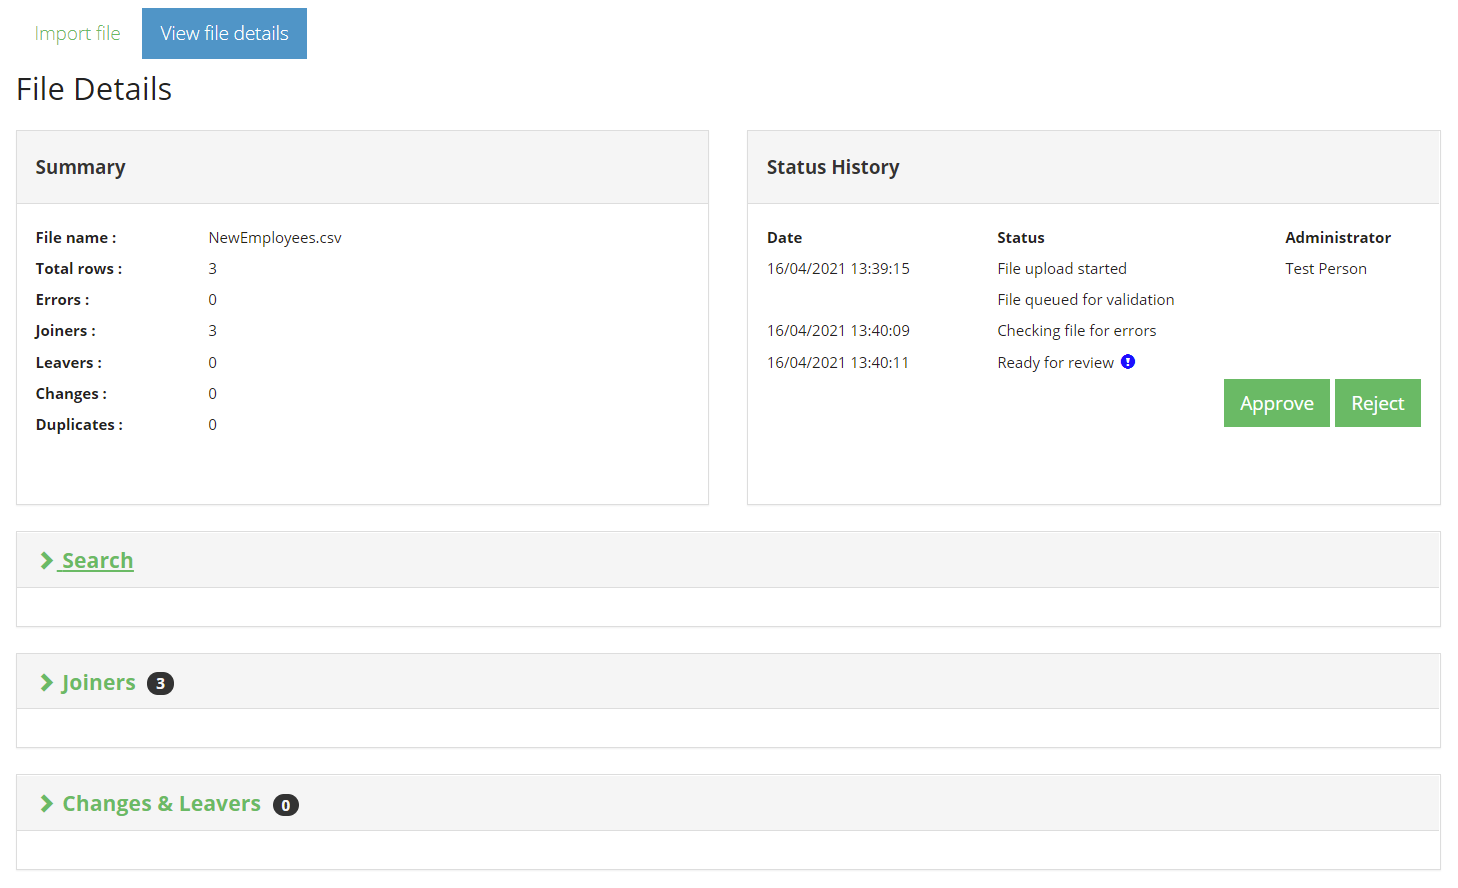
Conclusion
Congratulations you have just created your employees! You can also use this tool to bulk update employees, or to mark employees as leavers on bulk.
Comments
0 comments
Please sign in to leave a comment.