Allocating benefits can be done one of three ways:
- Setting the benefit to automatically become visible to all staff (including subsequent new joiners)
- Making it available to a set group(s) of employees
- or making it available only to certain individuals
This article will cover the latter.
Why allocate to individuals?
Allocating to individuals is a good way of handling exceptions. There may be instances where specific benefits don't fit within a strict group of employees, perhaps there are legacy benefits only available to certain users and groups are already used to allocate the newer benefits.
How to start?
To allocate a benefit to an individual you must go into the Benefit Manager from the Admin Suite.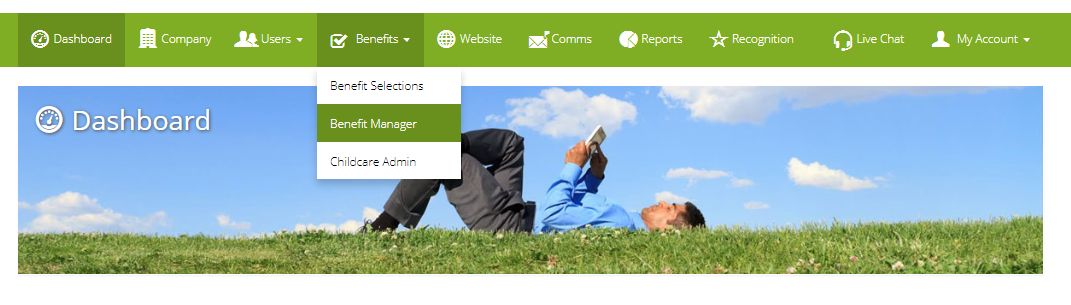
From here you can search for the benefit you wish to manage, then click on the allocations icon  . Note: you can also arrange benefits by selection windows on the Benefit Windows tab, this allows you to go through several benefits in the same window more easily.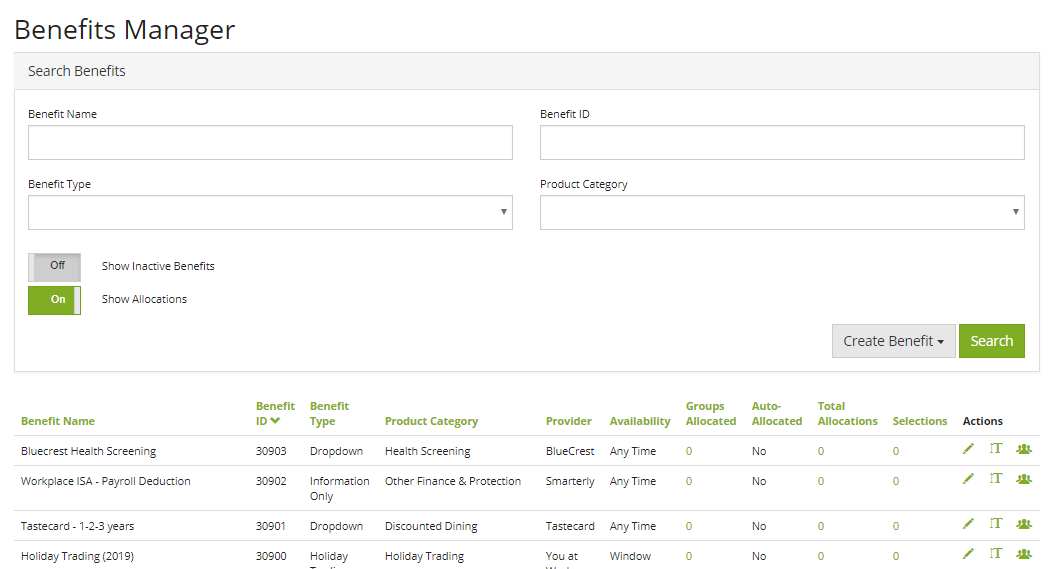
How to allocate to individuals
Now we're in the right place we can begin!
The page is split into three sections to easily allow you to manage allocations.:
- Users who cannot see the benefit
- Users who can see the benefit
- Users who have made a selection against the benefit already
You can search for users to allocate to or filter by User Groups to assist you in this task.
You can then allocate individually by clicking the allocate icon  or by ticking the box to select multiple users and clicking Allocate Selected.

Why can I not allocate to someone?
If the allocate icon is greyed out, the user lacks information on their Employment Terms, which will need to be added first from the edit user page. You will need to give a salary and a payment frequency, in order for the system to know how to break the cost down for the employee.
Comments
0 comments
Article is closed for comments.