Customers on the Standard plan are able to add their own "Information Only" custom benefits.
"Information Only" benefits allow you to add your own text, links and documents, however these benefits cannot have areas where employees choose their level of cover, input their required price or add them to their basket & checkout online. The additional functionality is available on the fully interactive custom benefits, which are only available on Bespoke plans.
Information Only benefits can still be utilised to great success, be it to display long service award policy, add a link to a 3rd party website e.g. pension provider login page for employees to check their fund, or show-off an exclusive discount that you have sourced for staff...
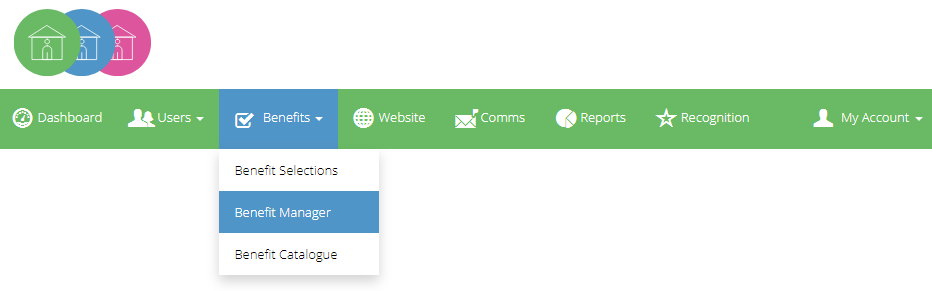
To start, head to "Admin Suite > Benefits > Benefit Manager"
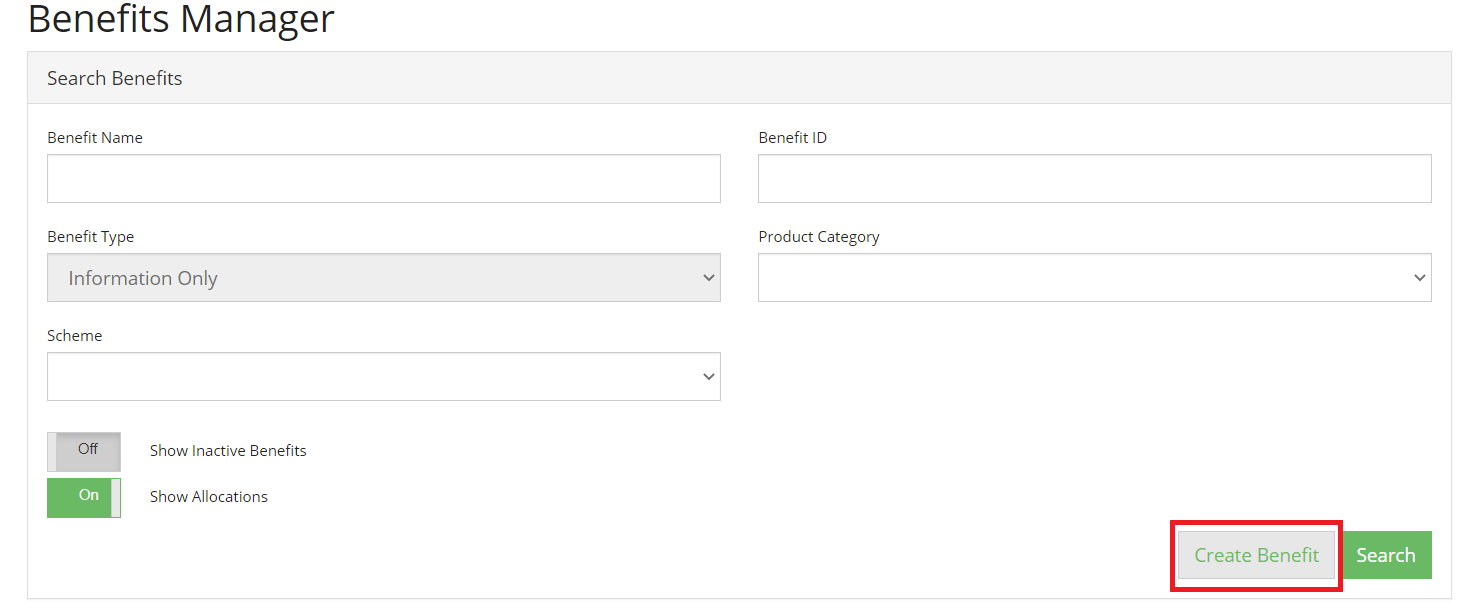
Once there, you'll see the list of existing benefits as well as an area at the top of the page to search and filter this list by benefit name, type, category etc.
Inside the search area, is the option to "Create Benefit" - highlighted in red on the screenshot below.
Step 1a - Configuration:
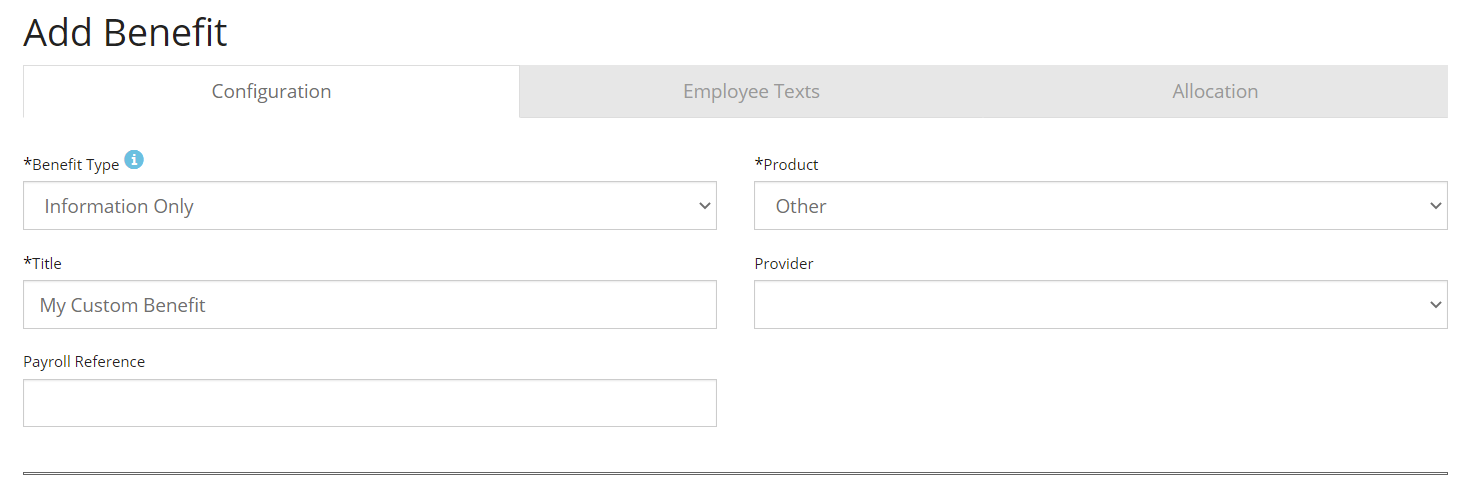
First up, give your benefit a name and select a provider if there is one but you can leave the provider field null.
The "Product" option doesn't affect what employees see but can be used on reports to help you see what types of benefits employees are selecting.
Step 1b - Configuration:
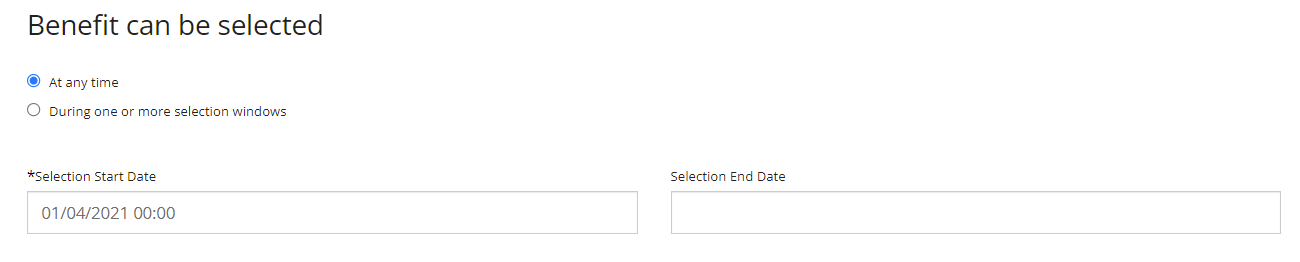
Next up is to decide when this benefit can be made visible to employees.
Selection Start Date :
- This is the first date + time it will be visible to employees once it is activated
- Useful for when you are setting up a benefit in advance, don't want it to be immediately available but want the benefit to appear on the site from a specific date
Selection End Date:
- This is the last date + time it will be visible to employees
- Useful for making a time limited period to encourage employees to login and interact with urgency
Note: Product Start & Product End dates are not used for Custom benefits. Please leave these null.
Step 1c - Configuration:
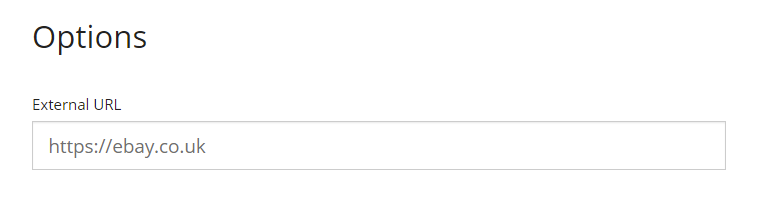
The last configuration step is optional. Adding a link to a 3rd party site here adds a call to action "Go to Site" at the bottom of the benefit when they access it; this button will redirect the user to the 3rd party website to view whatever you wanted them to see.
You may instead want to add a link in the text areas, shown in Step 2:
Step 2a: Text and Content
This is the creative step, where you can add your text, images, documents, and links to the benefit, using our easy text editors.
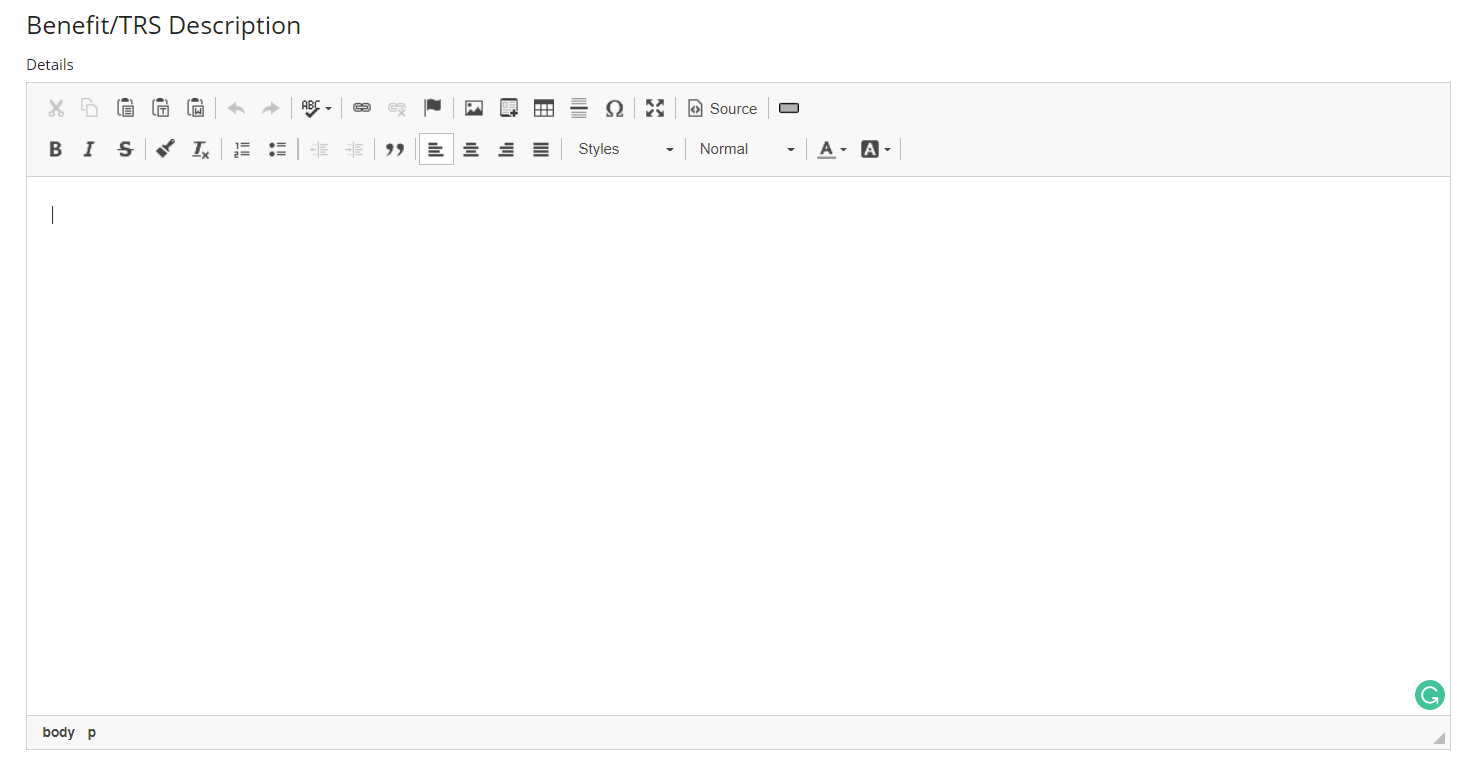
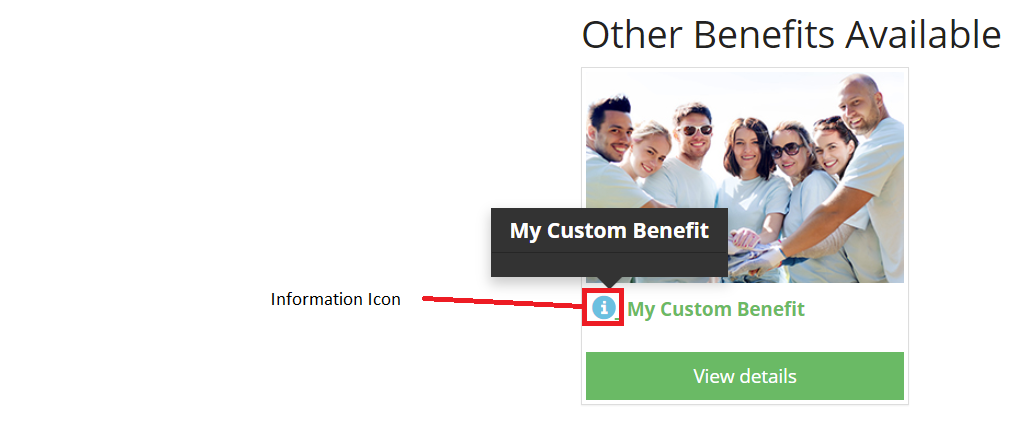
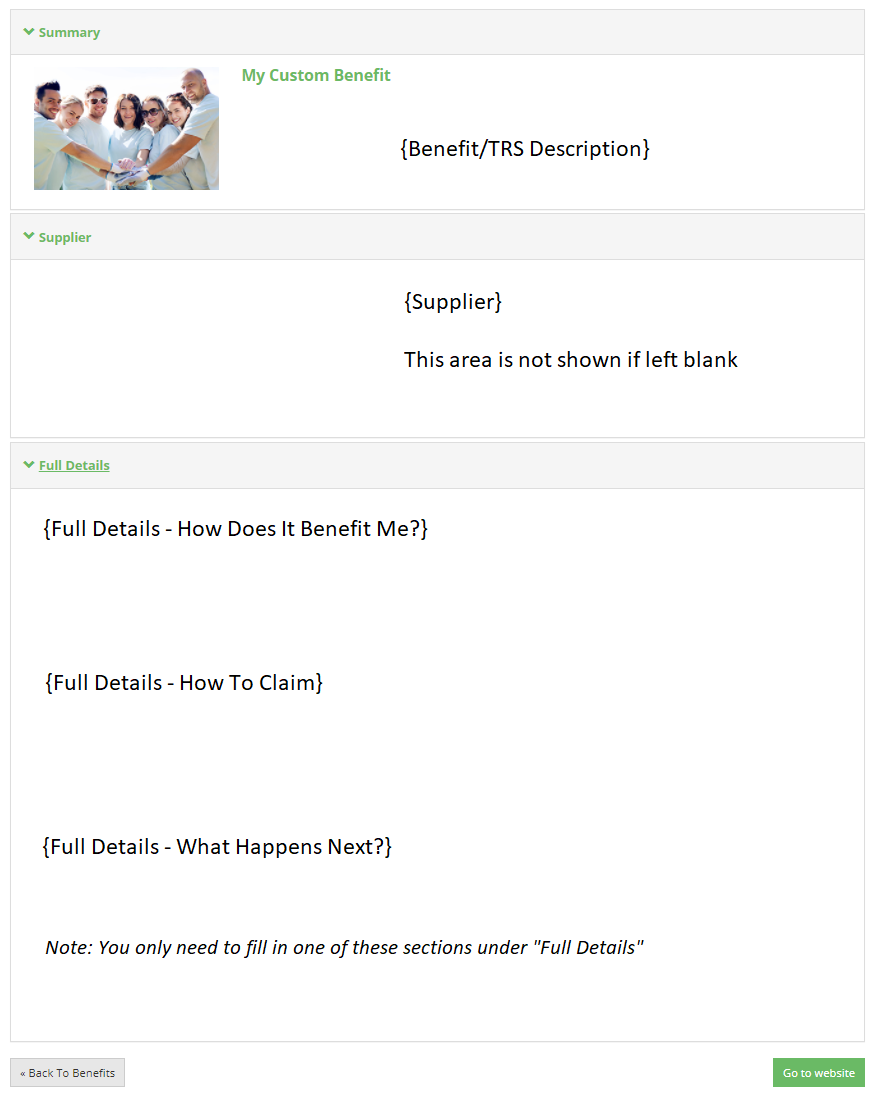
The page is split into different sections; each section then appearing in a certain place on the employee's view of a benefit.
View the image below for a visual representation of where each section shows to the user:
Step 2b - Changing the featured image and banner:
You can set the main image and banner from the Benefit Text page too. The images must be in the stated dimensions and format as shown on the screen when editing.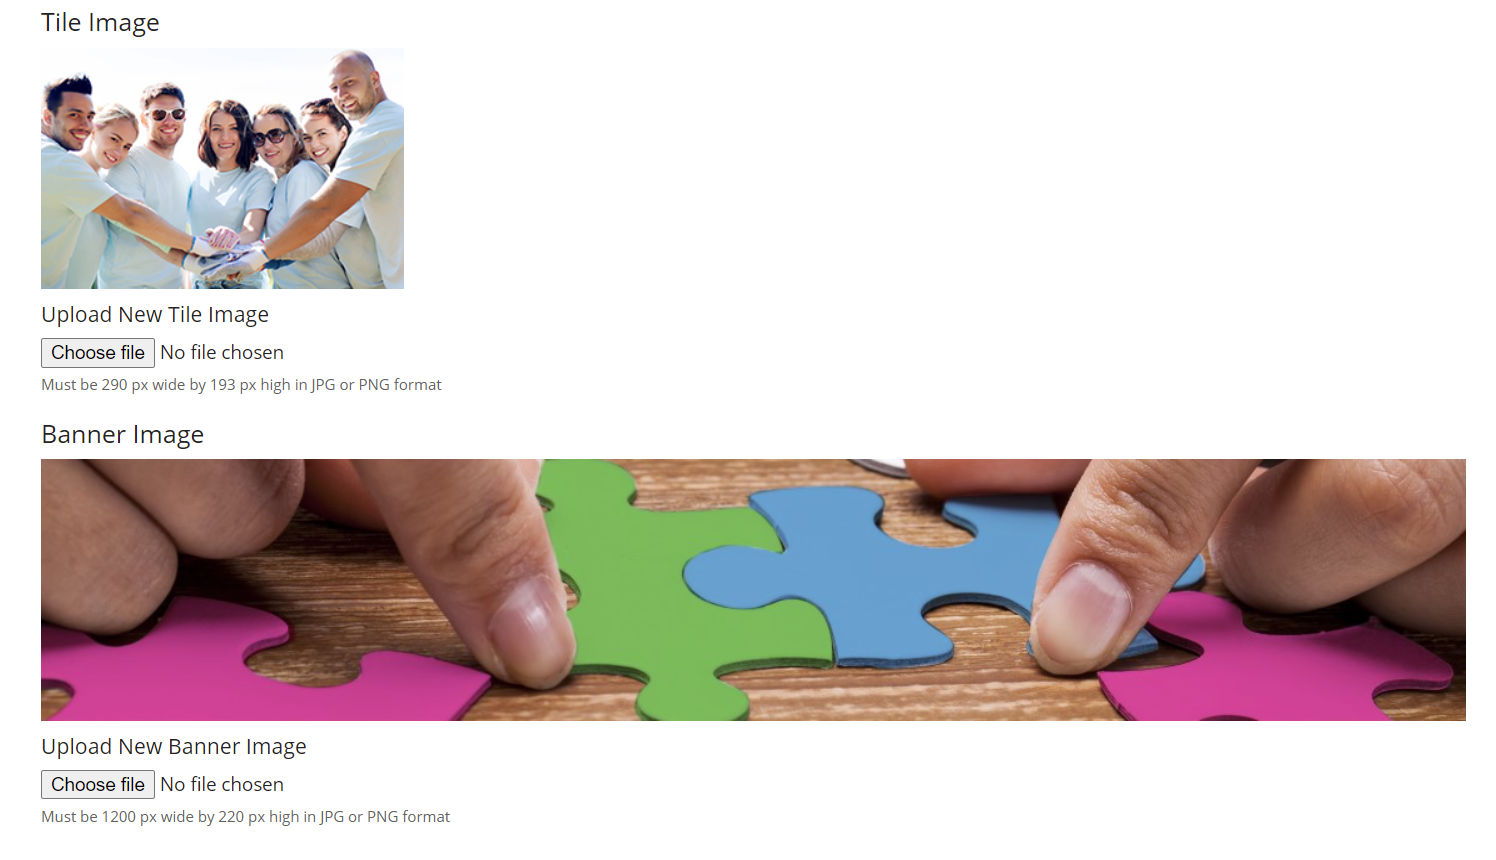
Step 3: Allocation
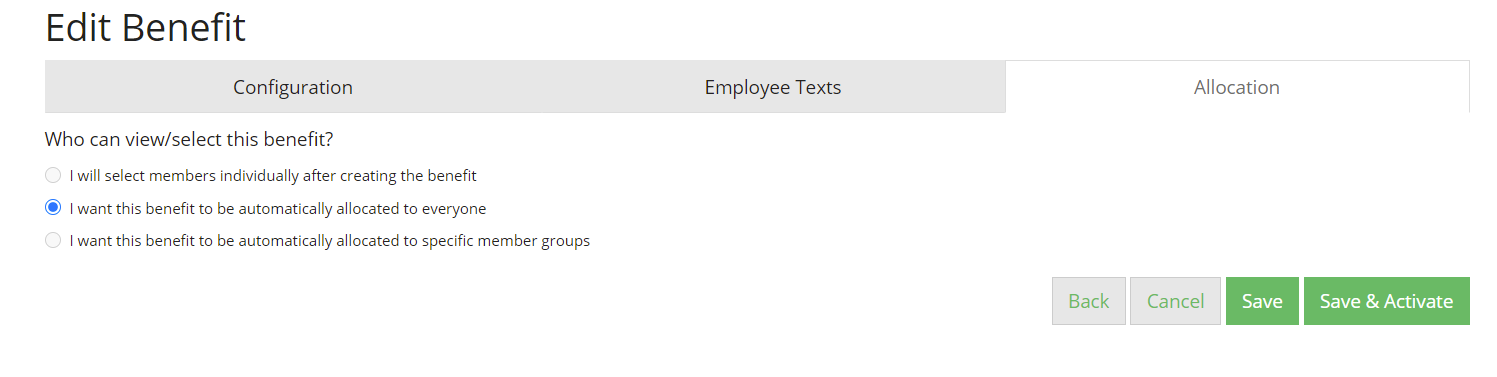
The 3rd tab is the Allocation tab, this is where you can define who can see the benefit.
As a standard customer, you can only set the option of making it available to everyone, so simply click to "Save & Activate"
Customers on Bespoke plans can give benefits to individuals, or create groups of employees and make the benefits visible to just certain groups.
Conclusion: Your benefit is now live!
...well, depending on the start date you set, your benefit should be visible immediately.
Head back to the employee view, click the benefits tab, and there you have it!
Comments
0 comments
Please sign in to leave a comment.