YouatWork offer a range of standard email templates that you can use to communicate new benefits to your employees. However, our software does allow customers to customise these to fit their brand/messaging
Important Note:
- Admin Role of "Comms Manager" will be required
- The administrator will need knowledge of HTML in order to edit the content within a template
- You cannot edit the subject or change the criteria of who will receive the email. Please contact your YouatWork account manager if this is required, as this could be chargeable depending on the exact requirements.
Step 1: Navigate to "Comms"
Start by navigating to the Comms area within admin suite.
"Admin suite > Comms"

Once you are in the comms area, you will see all the emails that can be sent to your employees.
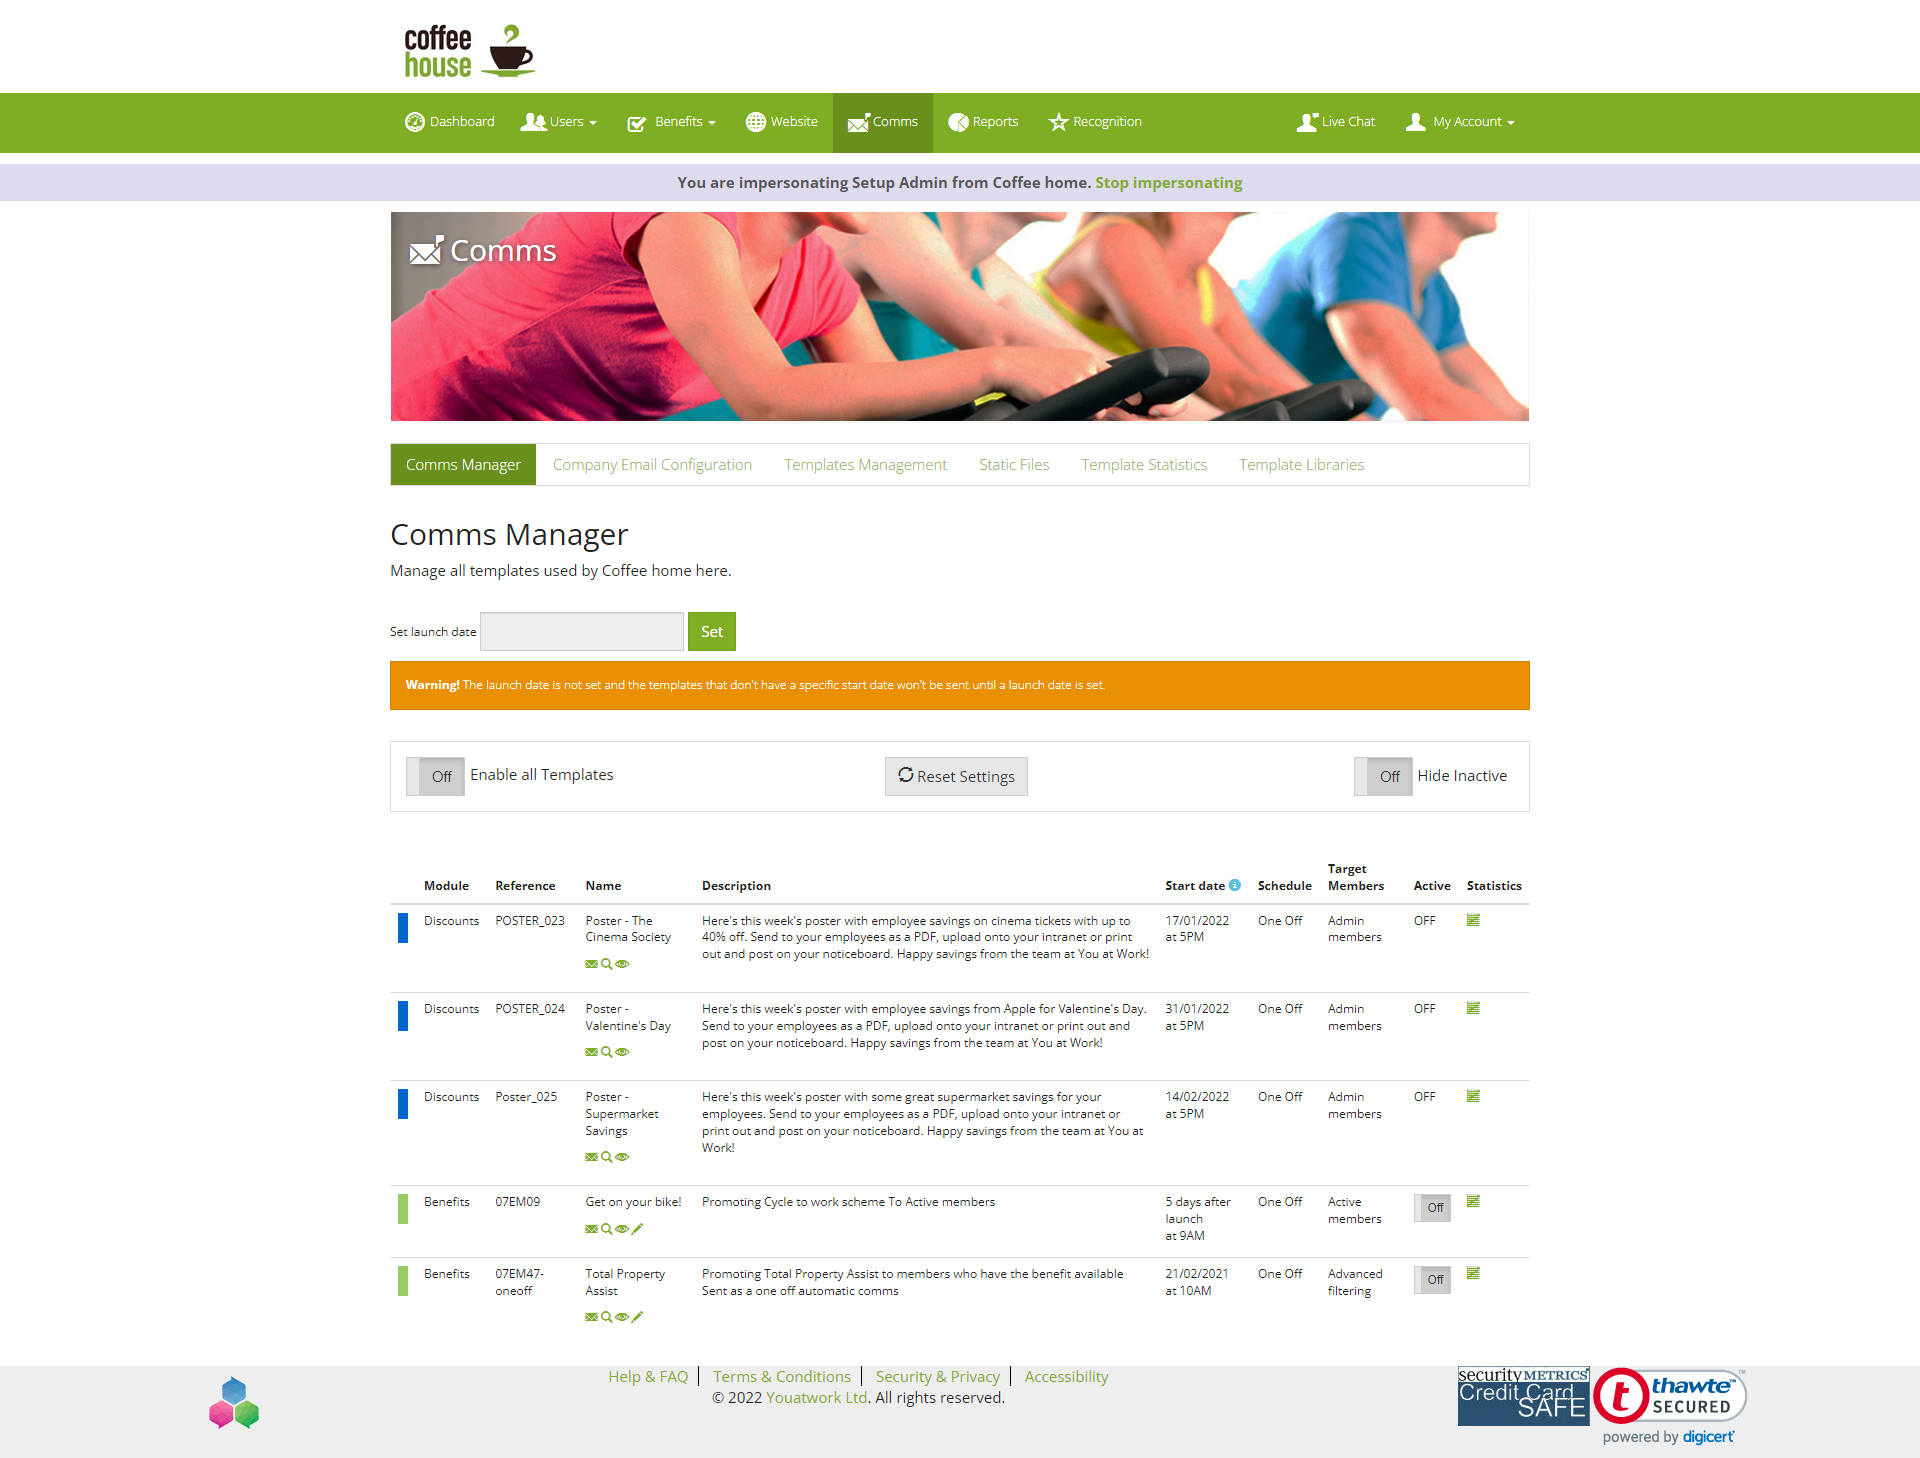
Under the 'name' of each email you can see 4 different icons. These icons are:
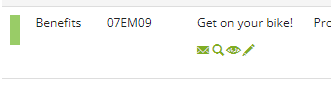
- Envelope - This is used to proof over emails to individuals or a group of people
- Magnifying glass - This shows the content of email in either HTML or plain text
- Eye - This shows the preview of who the email will be sent to
- Pencil - This takes you to the edit the content of the email
Step 2: Edit the Content
Find the email you would like to change content or the date in which the email is to be sent. For example, we will be changing the content of 'Get on your Bike!'.
To do this click on the pencil icon under 'Get on your Bike!', shown in the image below.
When you click on the pencil icon you will get taken to the page where you can edit the content using HTML.
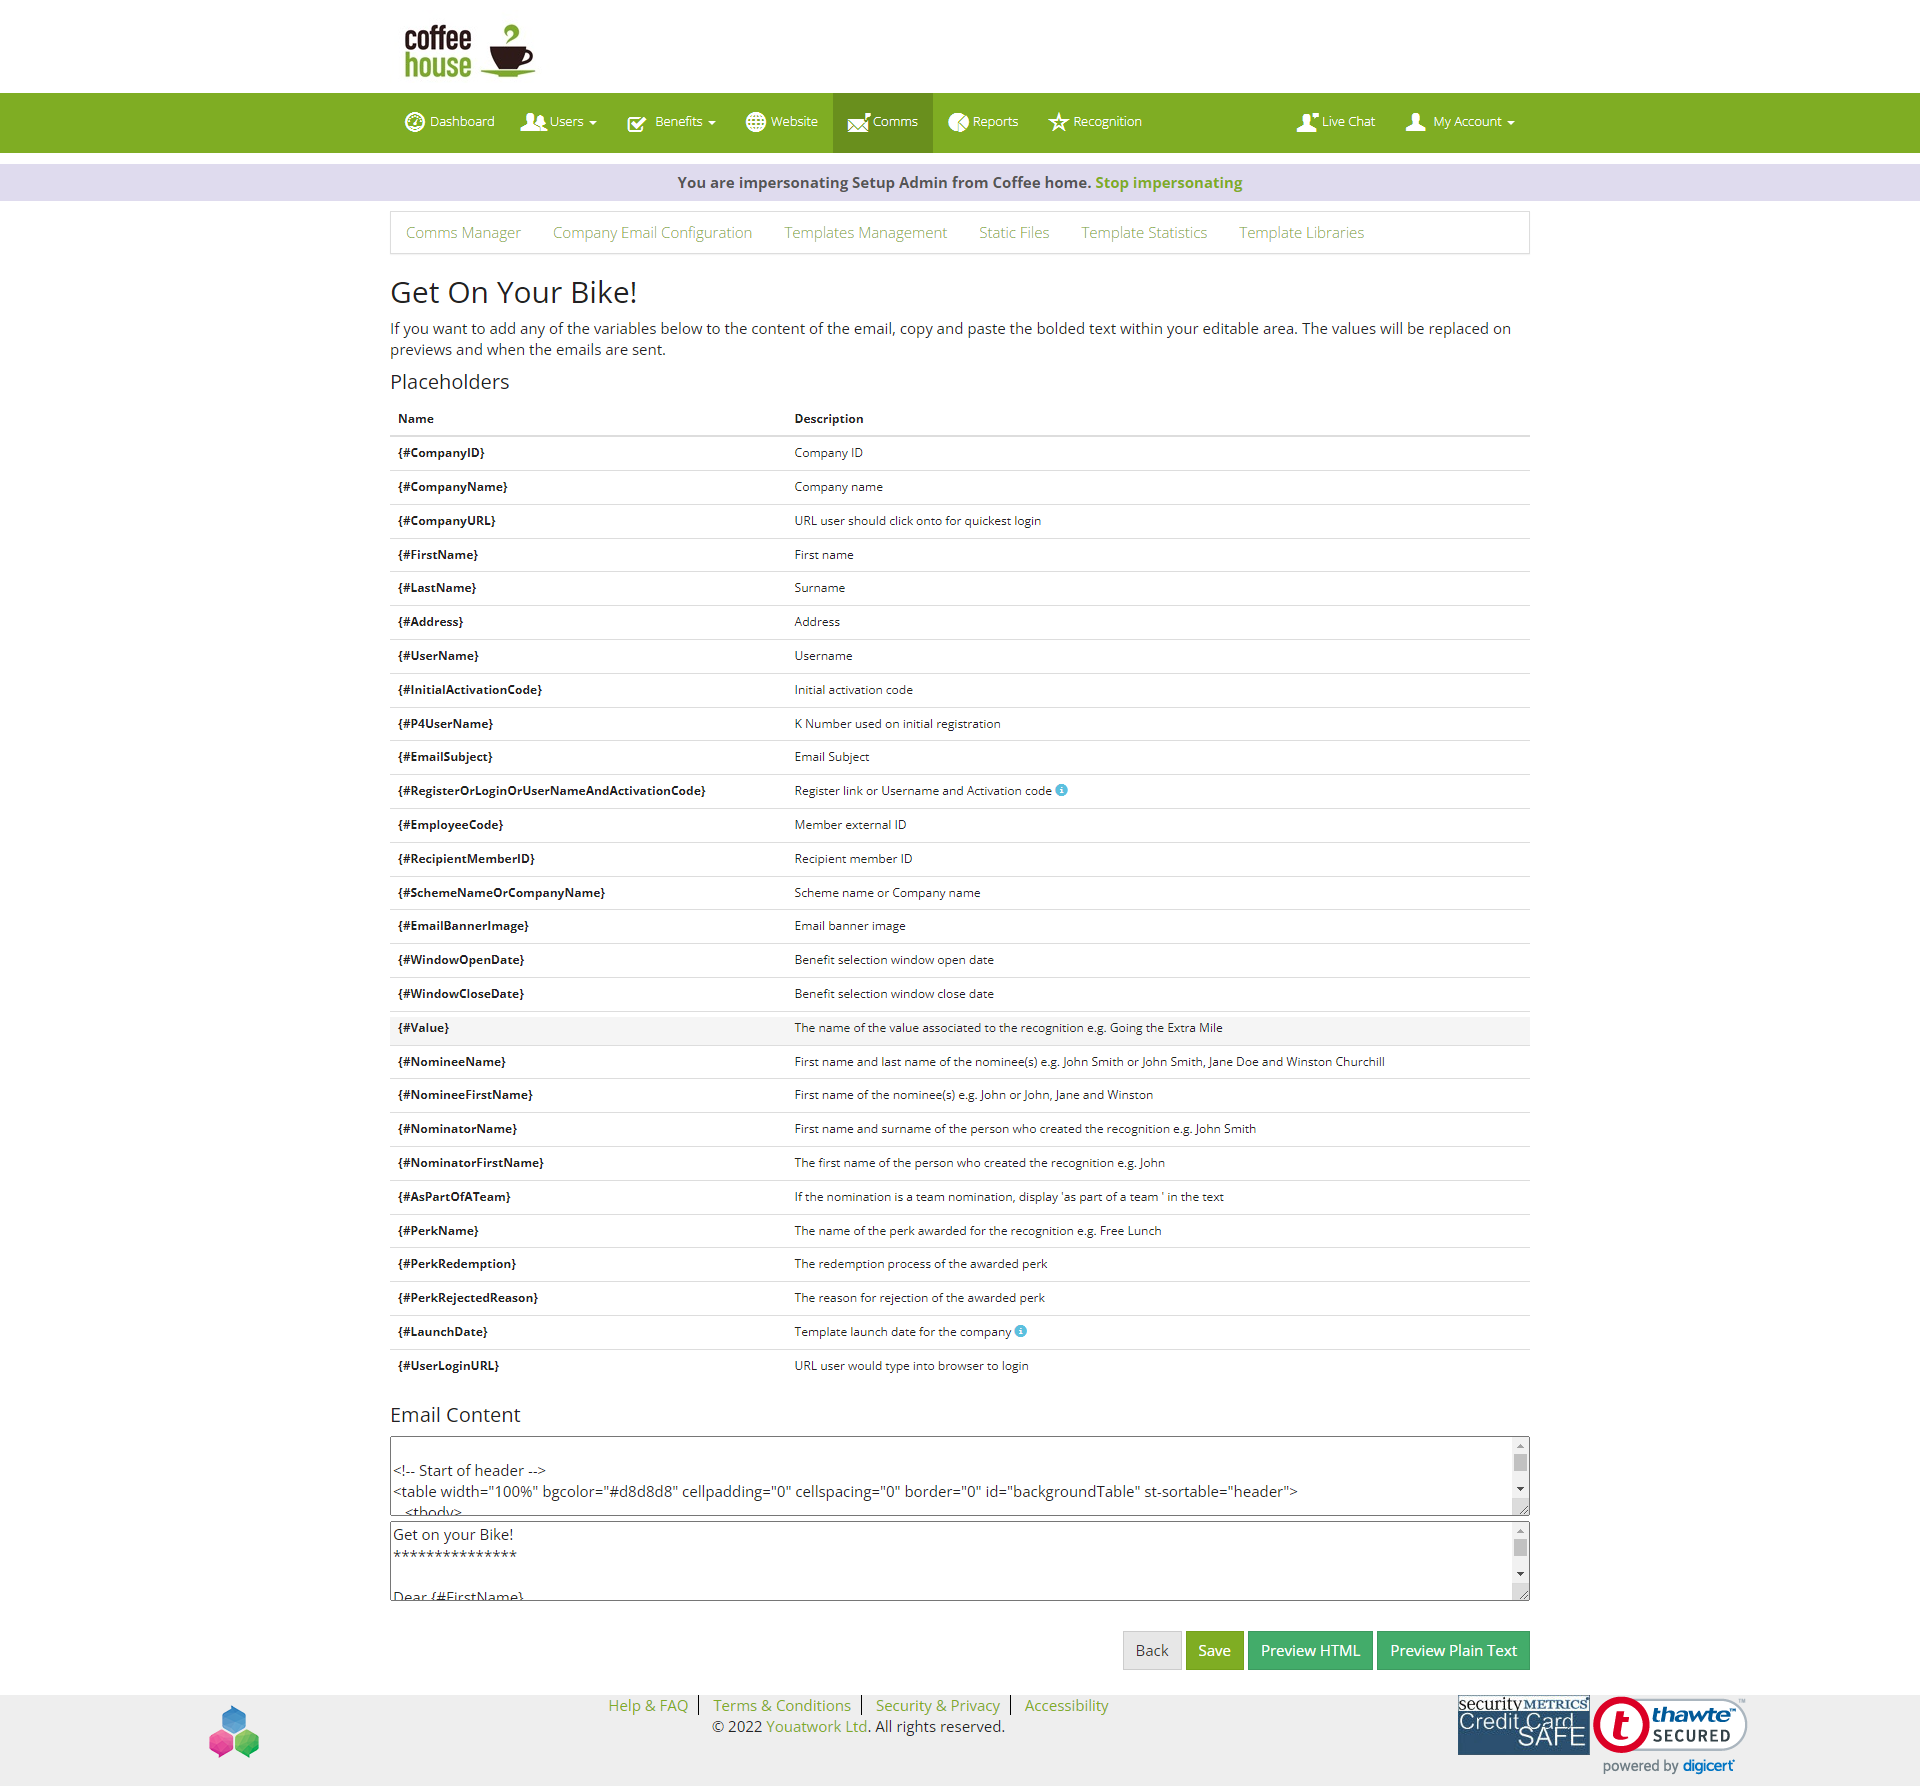
Scroll to the bottom of the page and use the first box to amend the email content, using HTML.
Step 3: Preview your changes:
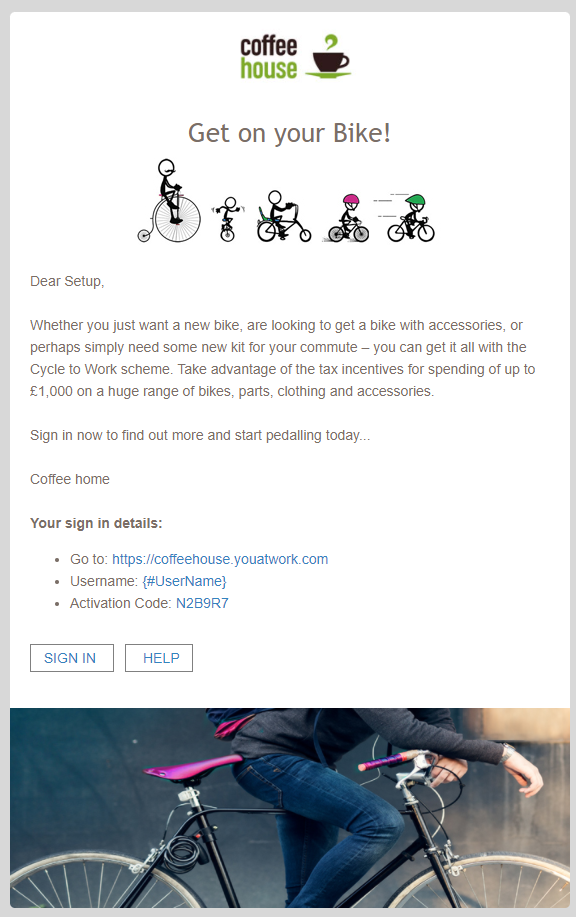
To see the email content click on the button 'Preview HTML'. A new tab will open, with a rendering of your mail.
Important Notes:
- "Preview" will render in a web browser. Certain email applications such as Outlook do not recognise all HTML commands or CSS styling, so your email could look different than the preview when it arrives to different email applications
- Our standard templates have been rigorously tested to work in Outlook, Apple Mail, and on mobile devices
- If you are making widescale styling changes, remember to proof your email and test it on different email applications that your employees will be using
Step 4: Schedule your email
To change the date and time the email is sent you first need to deactivate the email by switching off the toggle. This is shown in the image below.
Then find the email you would like to change the date and time for and click the pencil icon, shown in the image below.
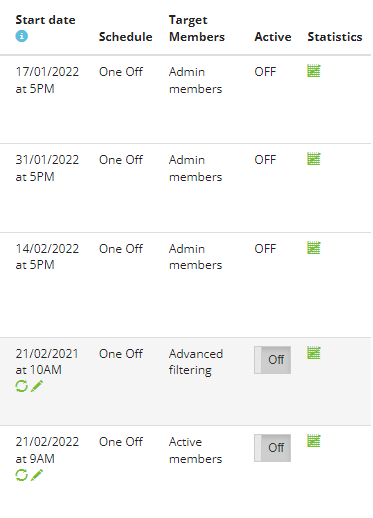
When you click the pencil icon you will have a pop up which allows you to change the date the email can be sent and which time it will be sent from. once you have changed the date and time click 'save'.
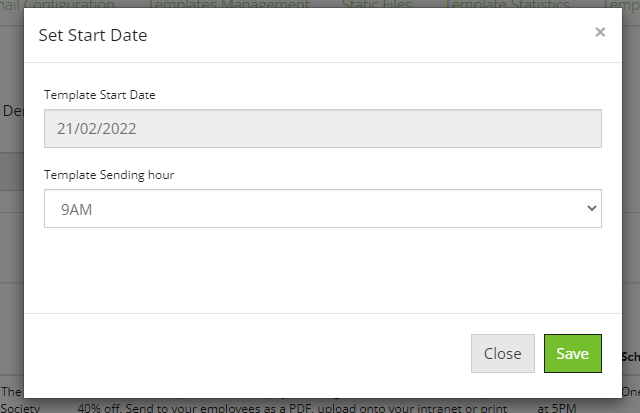
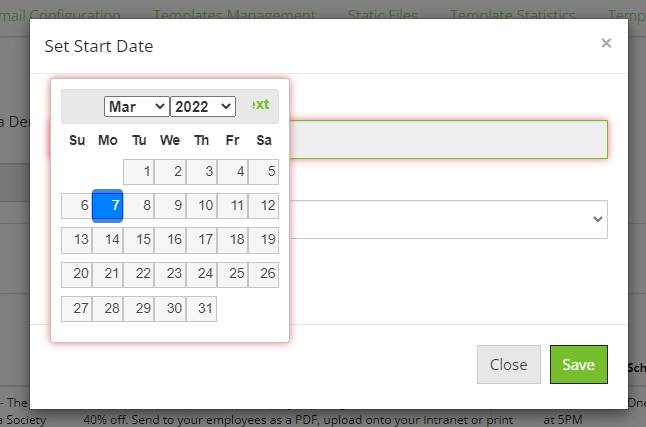
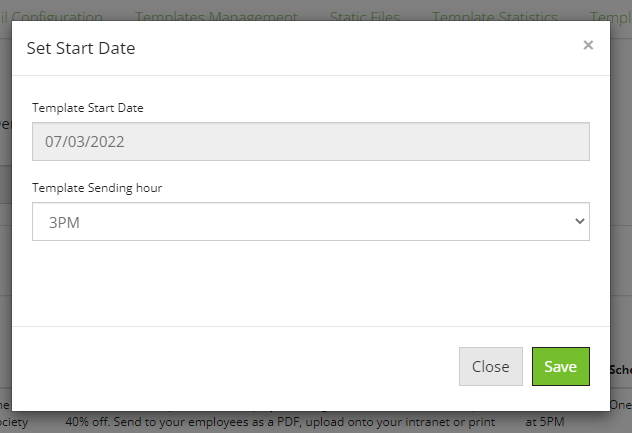
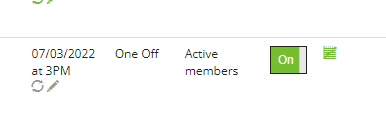
In the example the email was set to be sent on 21/02/2022 at 9am but now the email has been changed to be sent on 07/03/2022 at 3pm.
Then activate the email and this will be sent on the date and time that has been sent, as shown in the image below.
Conclusion:
And that's it! Your email has been edited, and now scheduled to go out to employees.
Comments
0 comments
Please sign in to leave a comment.